
RUSTIC STONE VENEER BAR | UNDER $500
By Jeff Posted Mar 08, 2015

RUSTIC STONE VENEER BAR | UNDER $500
By Jeff Posted March 8, 2015 In Blog
How often do you come home from work only to find that you don’t feel comfortable relaxing at home? With a little bit of DIY love, you can create a rustic stone veneer bar that actually makes you feel excited to walk in the door and grab a cold one after a hard day’s work. Let’s say you already have a bar in your basement, but it lacks the exquisite stone detailing that would make it attractive and fun. These steps will walk you through the process of creating a gorgeous veneer that will impress anybody.
1. PREPARE FOR THE PROJECT.
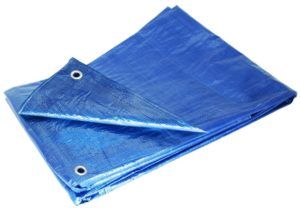
Now, you don’t need a reminder to keep your work area safe, right? Use some thick sheeting, tarps or blankets to cover the floor. This will prevent rough stone from scratching your floors. Don’t forget to grab some gloves to protect your hands too.
2. CREATE A SUPPORTIVE SURFACE FOR THE VENEER.

Most bars are made out of wood; however, you may want to use plasterboard as well if you’re starting from scratch. The stone that you use should not be too heavy and unless you have proper footing set in place. Keep it under 15 lbs./sf. Additionally, you want to ensure that your surface isn’t going to allow moisture to invade the veneer. Asphalt felt will do the trick. Just staple it to the wall of the bar with about 2 inches of overlap on the edges.
3. COVER THE FELT WITH METAL LATH.
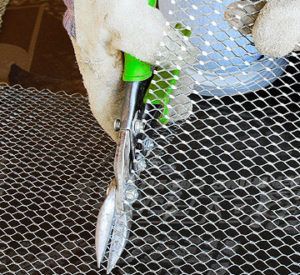
You are relying on the asphalt felt to keep moisture away, but you still need a surface that will hold your stones and mortar in place. This is where the metal lath comes in. As you trail your finger along the applied metal lath, it should feel smooth moving upward and rough downward. This rough texture has an advantage — it creates a better hold. As you go about completing this step, ensure that you are cutting around all outlets with wire snips. Drywall screws are best used to hold the metal lathe in place. Once you have the lathe secured, you are ready to start applying your stones.
4. LAY IT ALL OUT.

The first step to creating the perfect design for your bar is to lay everything out. Look at the range of colors in your repertoire and think about the size of the different pieces. Make sure you have a plan before you start sticking.
5. CREATE THE MORTAR.
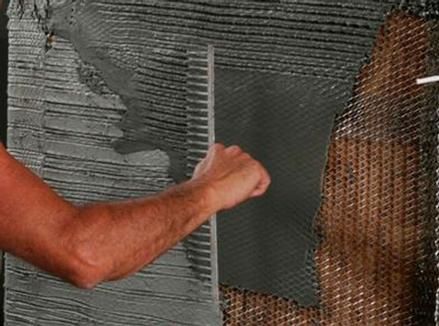
Mortar is best mixed in a bucket or wheelbarrow. For this project, you should use a ratio of 2:1 of sand and cement. You can expect to use about 90 pounds of Type S Mortar Cement and 25 shovelfuls of mason sand. Mix these ingredients before adding water. The more you mix, the more buttery the substance should become. If you don’t want to mix the mortar yourself, you can also opt for a pre-mixed stone veneer mortar. Once its created, use a trowel to smooth it onto the metal lath. Then ‘scratch’ the mortar to create a rough surface and let it dry, or at least tacky to the touch.
6. COVER THE CORNERS.
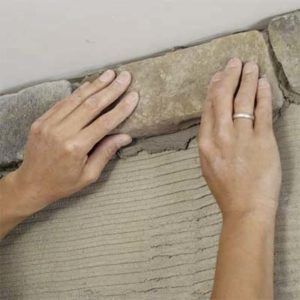
You should always start by setting the stones nearest to the corners. You want a large stone to fit right into the corner, and you want to spread about half an inch of mortar on the back of the stone with a trowel. Don’t forget to apply mortar to the stone’s outermost corners so that they really stick. As you stick the stone to the wall, ensure that you are holding it in place until you feel no movement. Make sure to create a border along the edges before you move on to the rest of the bar. After that, you might want to move on to an x-shape. The flat edges will be more difficult for the corners due to lack of support — watch out for falling rocks!
7. COMPLETE THE PROJECT.
You should allow the mortar to dry overnight, washing the stone the next day with a sponge and some water. Ta-da! You should feel proud of yourself for completing a rustic stone veneer bar without much help at all.
IF YOU HAVE ANY QUESTIONS ABOUT WHICH CONCRETE PRODUCTS YOU SHOULD BE USING ON YOUR HOME PROJECTS, PLEASE EMAIL US AT SALES@TAYLORCONCRETE.COM.

RECOMMENDED POSTS

Taylor Concrete
Products, Inc.
Contact
315-788-2191
315-788-1591
Address
20475 Old Rome State Road Watertown, New York 13601